We are releasing @querlo/sdk 1.3.0, a significant update focused on improving design flexibility, visual consistency, and integration control. This version…
Blog
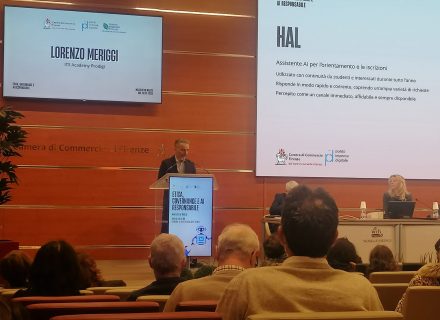
Etica, governance e AI responsabile: l’esperienza di ITS Prodigi alla Camera di Commercio di Firenze
/ March 13, 2026Ethics, Governance and Responsible AI: presenting HAL and Discovery at the Florence Chamber of Commerce Last Tuesday we had the…
Elevating Enterprise Conversations: Announcing the Querlo Chatbot SDK for NPM
/ March 11, 2026At Querlo, we are committed to making conversational AI as accessible and powerful as possible for developers. Today, we are…
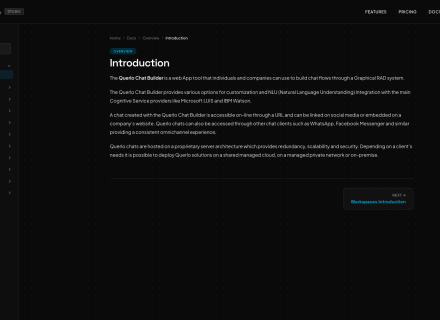
Introducing the new Querlo Chatbot Studio Documentation
/ March 5, 2026We have released a completely improved version of the Querlo Chatbot Studio documentation, designed to make it easier for developers,…
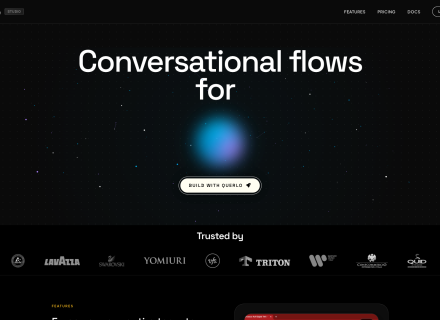
The new dedicated website for Querlo Chatbot Studio is now live
/ March 5, 2026We are pleased to announce the launch of the new official website entirely dedicated to Querlo Chatbot Studio, our platform…

How a Global Travel Giant Used Conversational AI to Transform Customer Experience
/ December 11, 2025A Querlo Use Case in Large-Scale Digital Transformation Across the travel and hospitality industry, the shift toward digital self-service has…
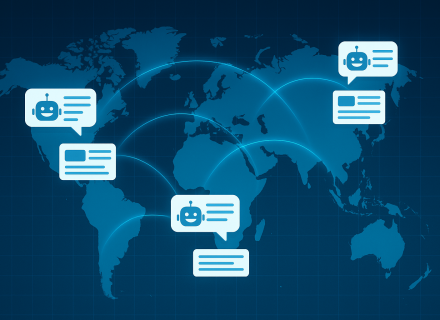
How Global Enterprises Are Turning Content Into Intelligent Conversations
/ December 11, 2025Querlo Use Cases Delivered Across Multiple International Markets In recent years, several major financial and professional-services organizations—operating across dozens of…
AI, Our Children, and the Future of Work: Reflections from a Dinner Conversation
/ November 15, 2025Last night, over dinner with friends, the conversation drifted to artificial intelligence. And I was asked a question that, in…
What’s Your Digital Twin Mission (DTM)?
/ November 14, 2025I’d like your attention on something important: What’s your Digital Twin Mission? My vision is for your Digital Twin to…
Why U.S. Companies Benefit from Developing AI Software in Geopolitically Safe G7 Countries, with Italy as a Strategic Hub
/ October 17, 2025In today’s rapidly shifting geopolitical landscape, where software is built matters almost as much as how it’s built.For U.S. companies…