Ethics, Governance and Responsible AI: presenting HAL and Discovery at the Florence Chamber of Commerce Last Tuesday we had the…
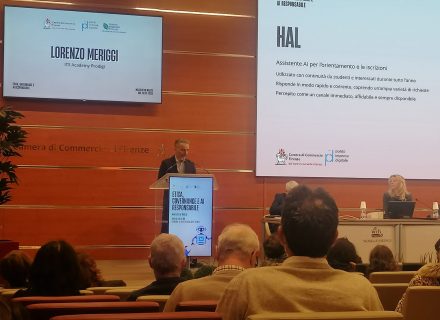
Ethics, Governance and Responsible AI: presenting HAL and Discovery at the Florence Chamber of Commerce Last Tuesday we had the…
At Querlo, we are committed to making conversational AI as accessible and powerful as possible for developers. Today, we are…
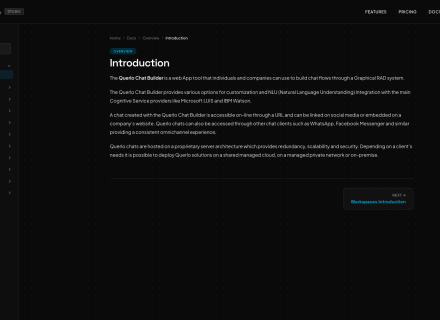
We have released a completely improved version of the Querlo Chatbot Studio documentation, designed to make it easier for developers,…
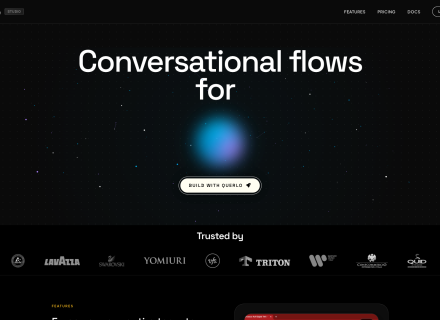
We are pleased to announce the launch of the new official website entirely dedicated to Querlo Chatbot Studio, our platform…

A Querlo Use Case in Large-Scale Digital Transformation Across the travel and hospitality industry, the shift toward digital self-service has…
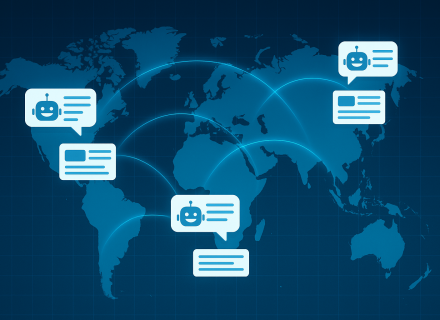
Querlo Use Cases Delivered Across Multiple International Markets In recent years, several major financial and professional-services organizations—operating across dozens of…
Last night, over dinner with friends, the conversation drifted to artificial intelligence. And I was asked a question that, in…
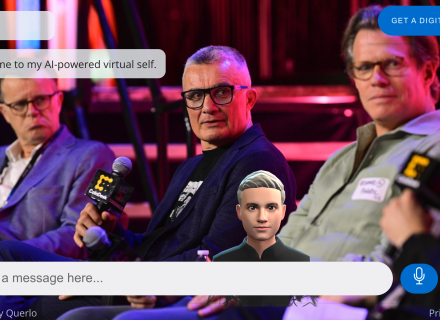
I’d like your attention on something important: What’s your Digital Twin Mission? My vision is for your Digital Twin to…
In today’s rapidly shifting geopolitical landscape, where software is built matters almost as much as how it’s built.For U.S. companies…
Querlo is a B2B company that builds AI-powered solutions and Digital Twins to enhance communication, engagement, and ROI.We combine Italian…