Ellyn / November 8, 2021
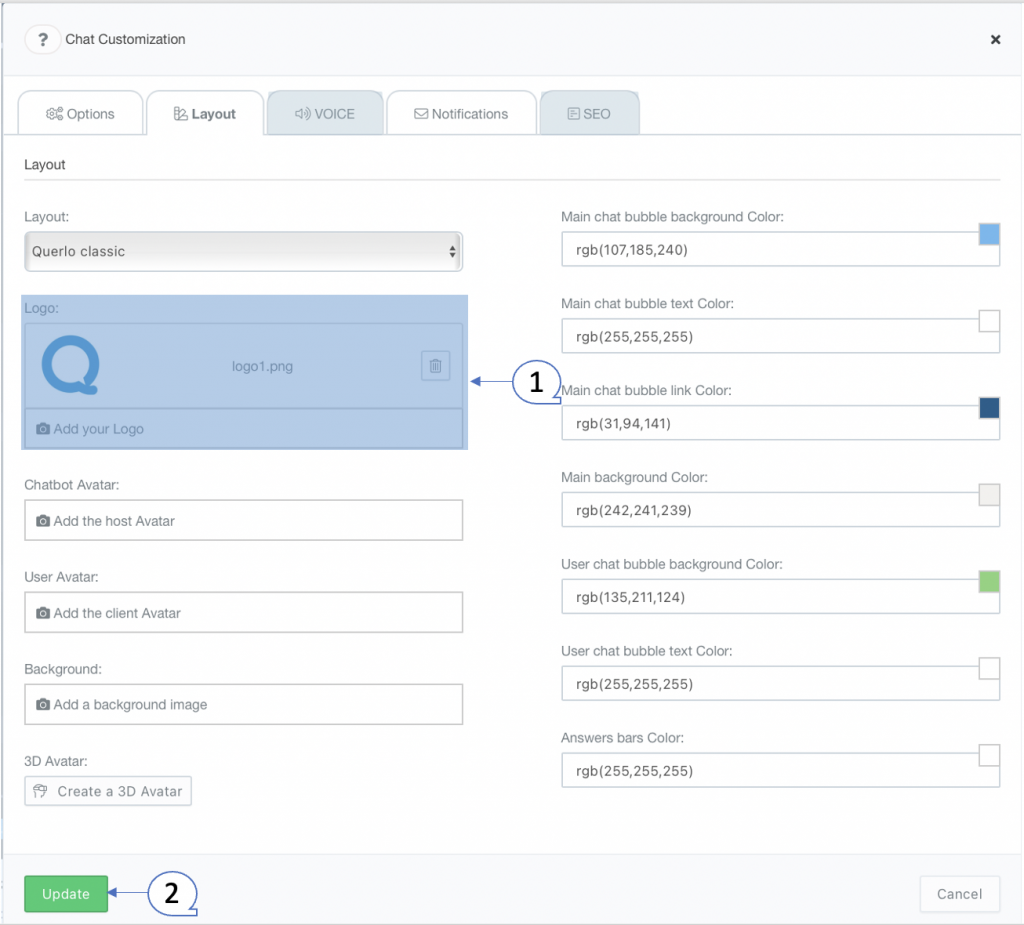
The appearance of a Chat HTML Client can be customized. The settings include Colors, Background image, Host and Client avatars, and Logo image.
Step 1: #
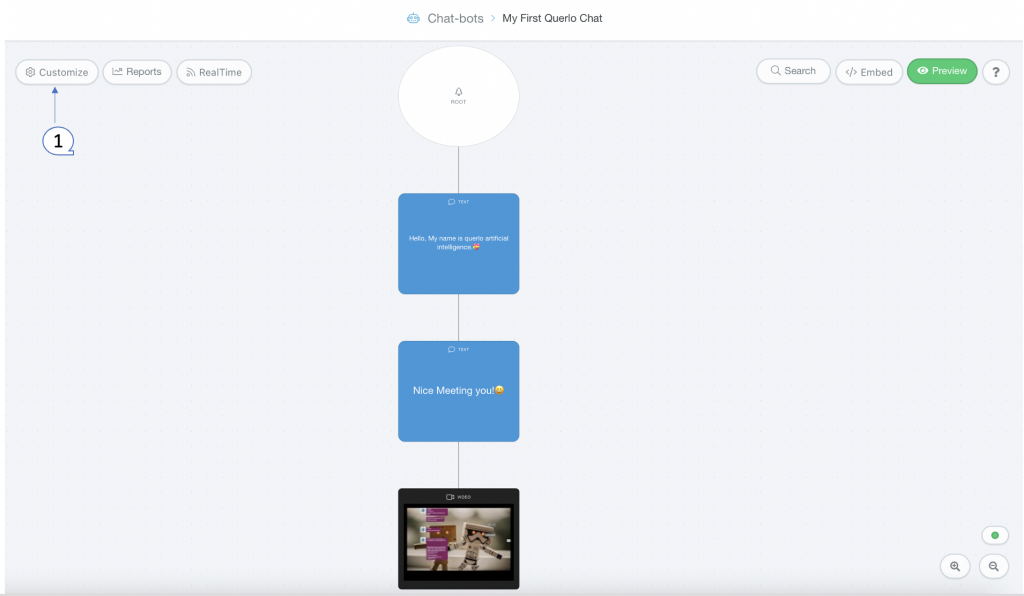
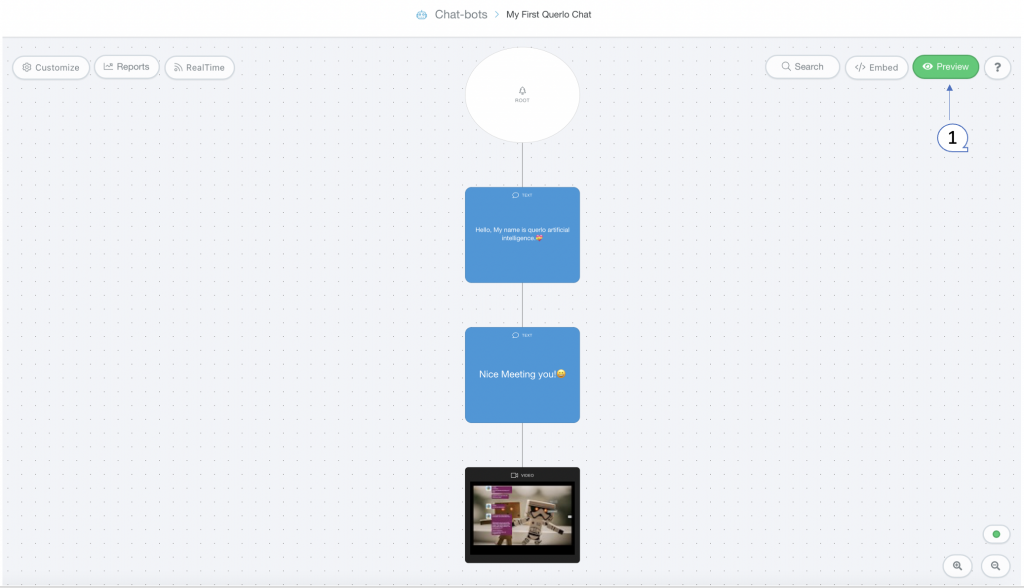
Click the “Customize” button on the left side of the page to access the “Chat Customization” form.
Step 2: #
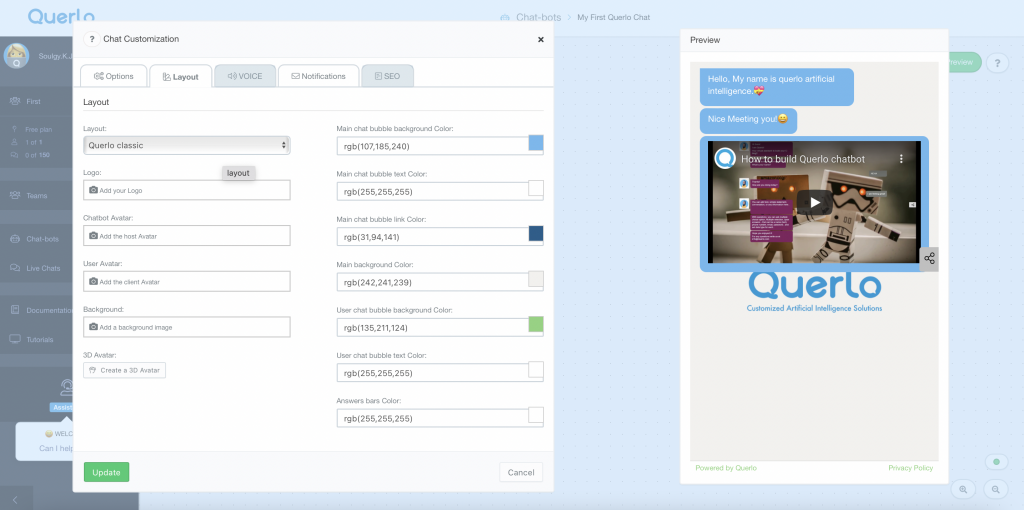
The “Chat Customization” form appears. In the “Layout” section you can set up the appearance of a Chat HTML Client.
>> Colors setting #
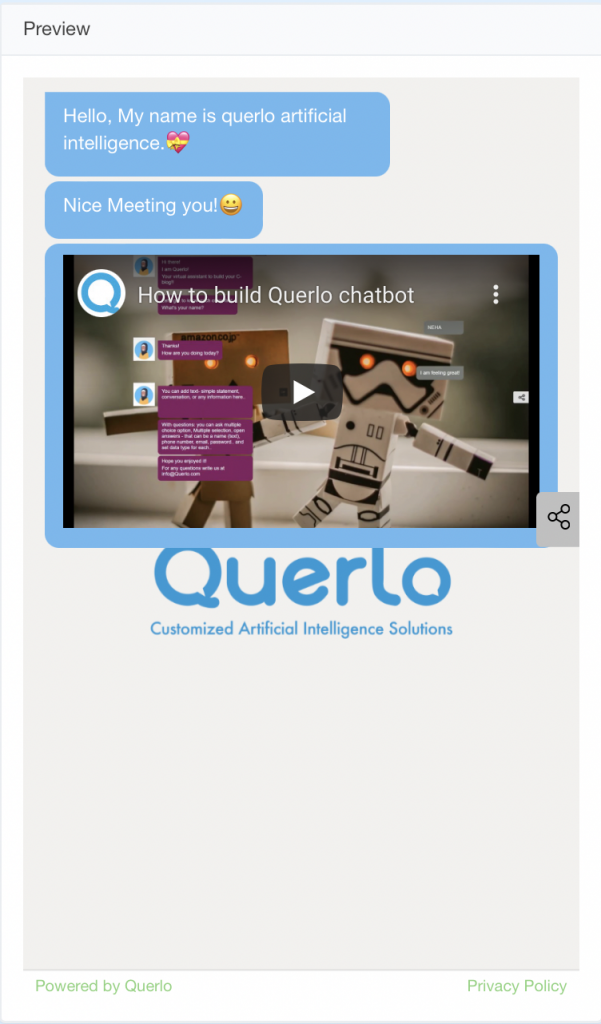
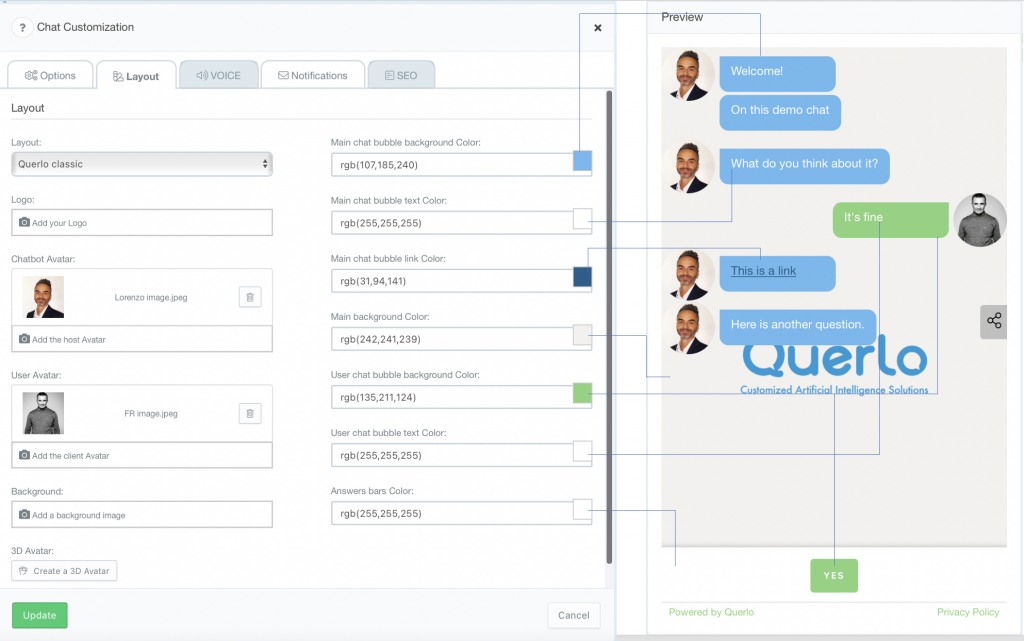
A preview window also appears and it shows the current setting of the colors of the Chat HTML Client.
The available options are:
- Main chat bubble background color
- Main chat bubble text color
- Main chat bubble link color
- User chat bubble background color
- User chat bubble text color
- User chat bubble link color
- Main background color
- Bars background color
>> Background Image, Host Avatar and Client Avatar #
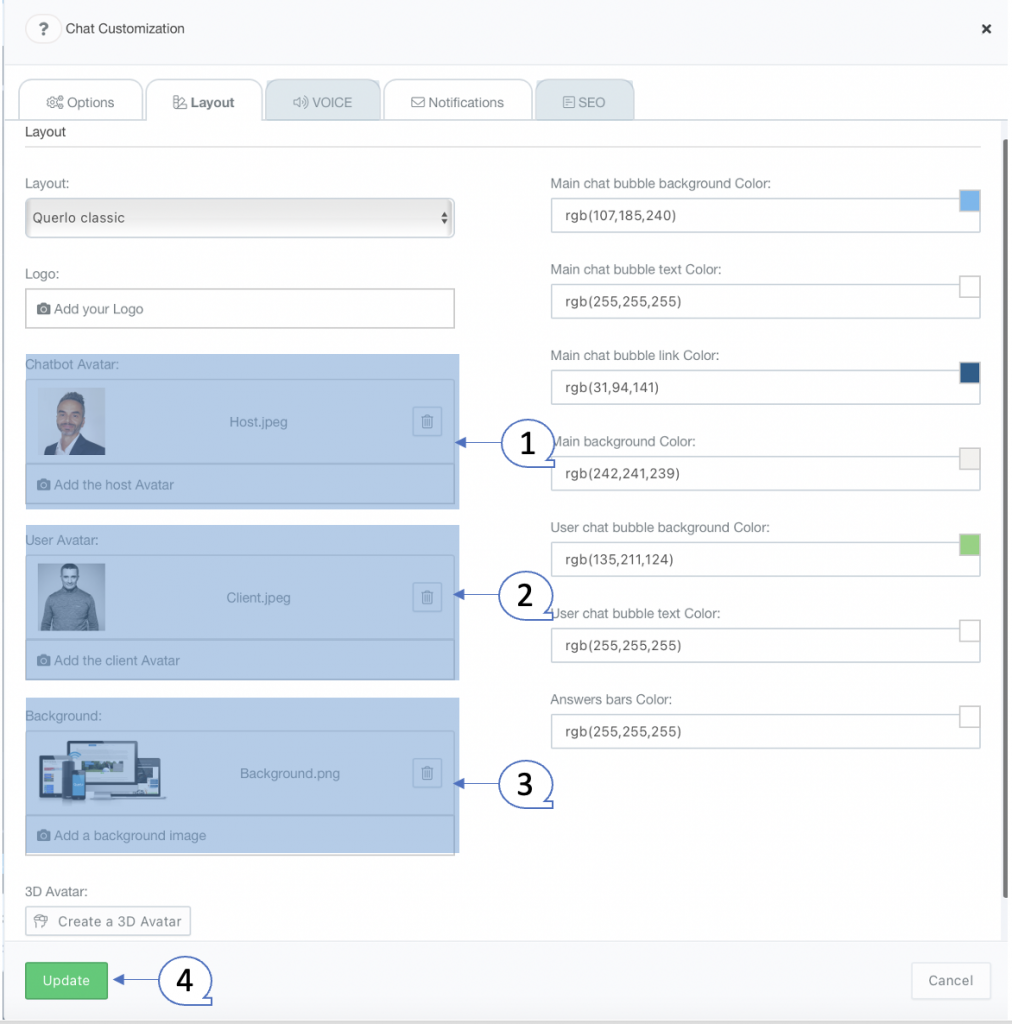
(Q1) Click “Update the client Avatar” to upload an image or icon for the client’s avatar of the chat. A PNG file is recommended.
(Q2) Click “Update the host Avatar” to upload an image or icon for the host avatar of the chat. A PNG file is recommended.
(Q3) Click “Update the background image” to upload an image for the background of the chat.
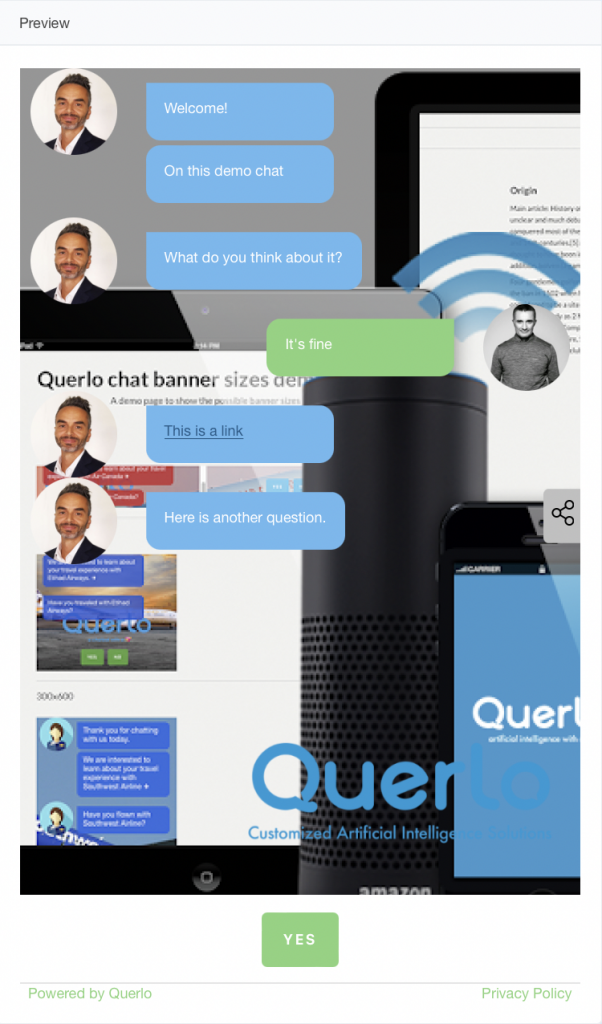
The background and avatar images that we have uploaded are shown In the preview window.
(Q4) Click “Update” to save your changes.
>> Logo Image #
(Q1) Click “Update the Logo image” to upload a Logo image for the chat.
(Q2) Click “Update” to save your changes.
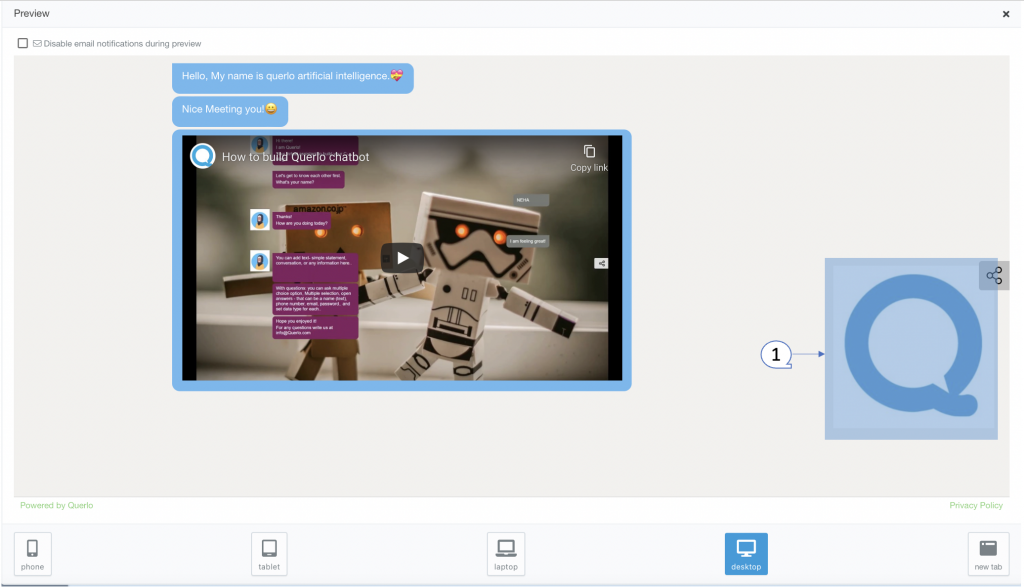
Click the “Preview” button on the right side of the chat builder page to open the Chat HTML client.
The Logo image that we have uploaded is shown in the Chat HTML client.
