Ellyn / November 8, 2021
The Conditional Branch is an important and advanced feature that evaluates the content of a variable and directs the flow to the appropriate branch.
The Conditional Branch works like “if statement”.
An if statement is a programming conditional statement that, if proved true, performs a function or displays information.
Adding a Conditional Branch Question node #
Step 1: #
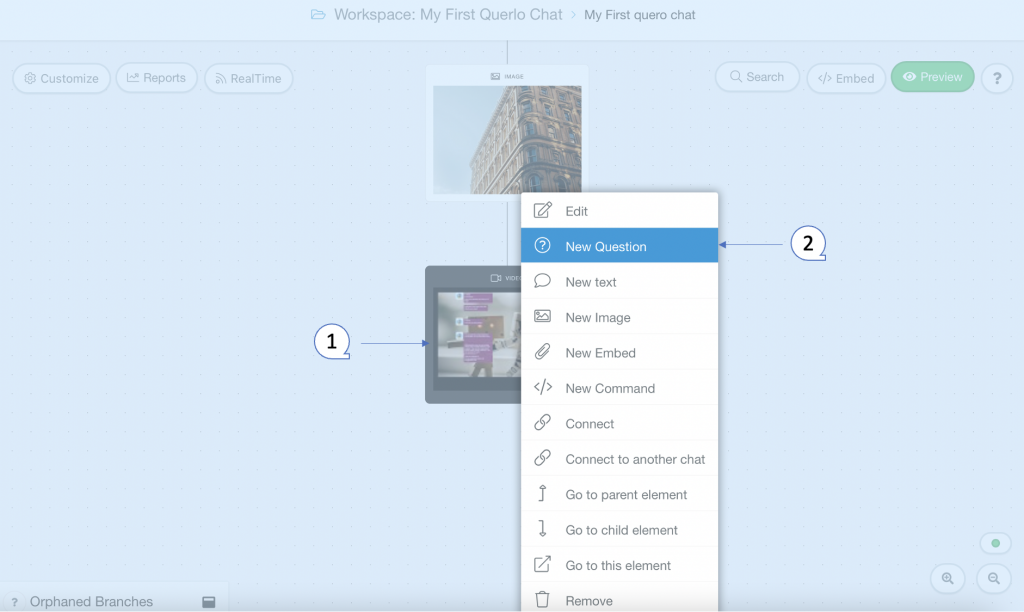
Add a Question node by clicking on the last node to access the contextual menu and choose “New Question” to open up the Edit form.
Step 2: #
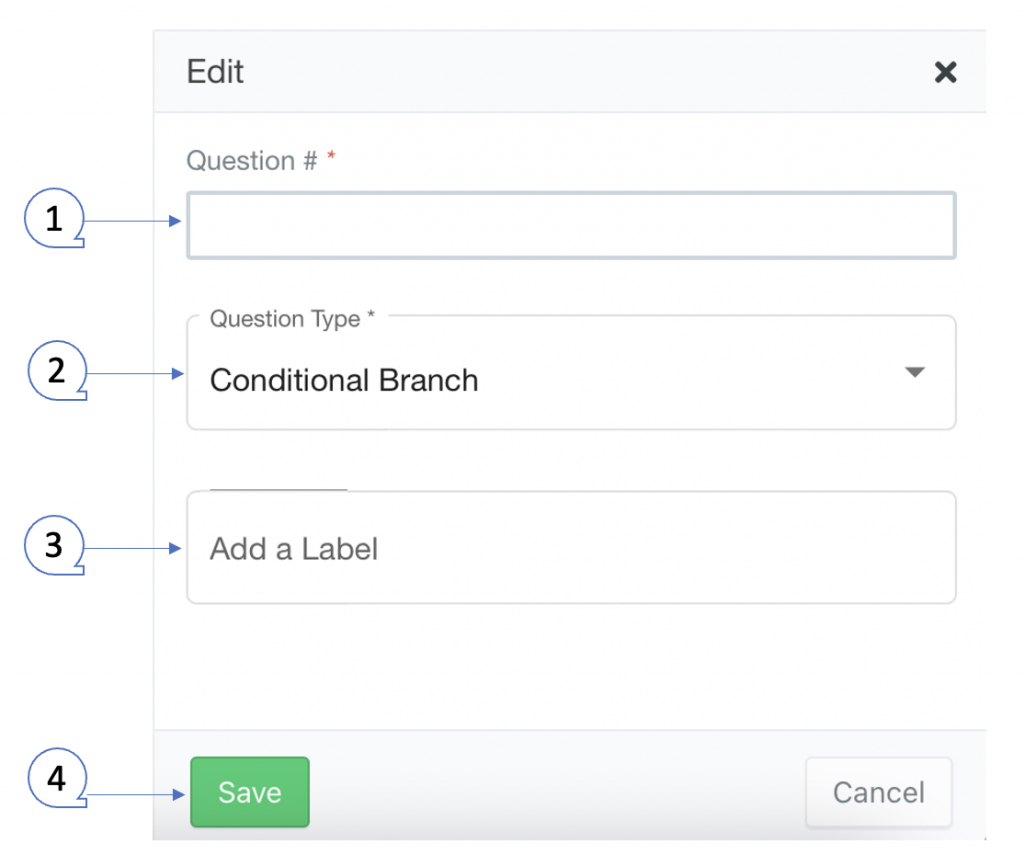
This is the “Edit” form where you can modify the content of this node.
(Q1): Text editor. Type your text here.
(Q2): Emoticons. Add emoticons to your text.
(Q3): Type. Choose “Conditional branch” for this question node.
(Q4): Add a Label. Labels are used to reference nodes in various functions of the chat builder.
(Q5): Save.
Example #
Step 1: #
After opening the new question dialogue, fill out the form as per the screenshot below and click save.

Step 2: #
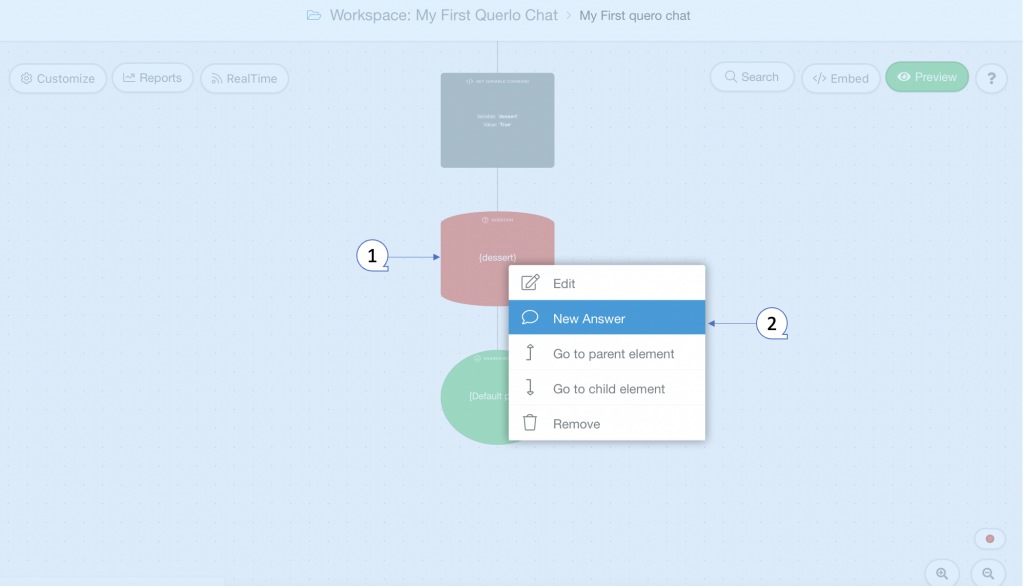
The Conditional Branch Question node that we have just created is now in the Chat Builder and it provides the action “New Answer” for you to create multiple answer nodes via contextual menu.
(Q1) Click on the Question node to access the contextual menu.
(Q2) Choose “New Answer” to create an answer node.
Repeat this step to create multiple answers.
Step 3: #
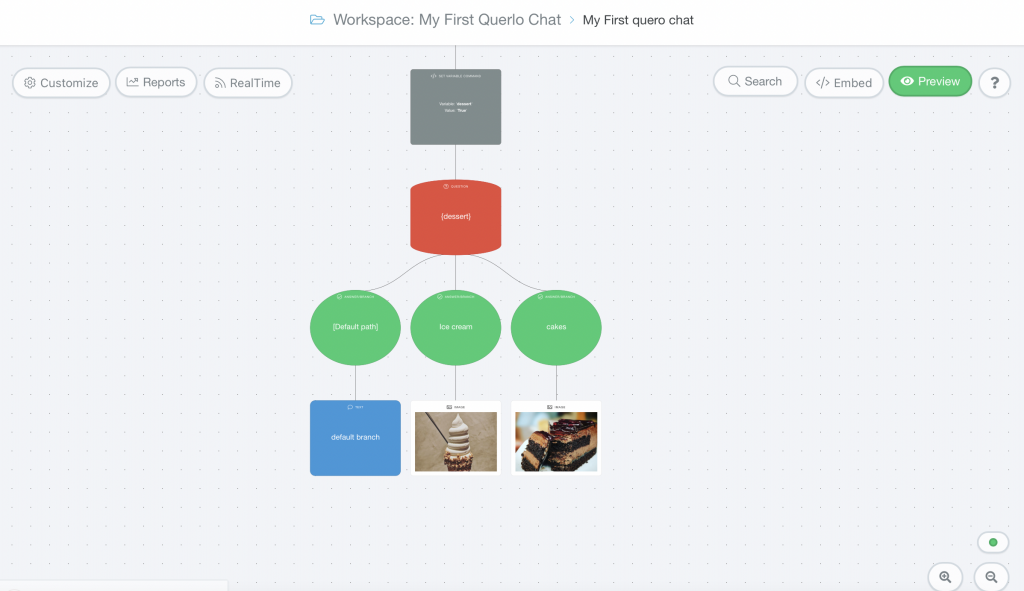
The Conditional Branch Question node and its Answer nodes in the Chat Builder.
Step 4: #
A Set Variable Command node may be used together with a Conditional Branch Question node. Please read Set Variable to learn more.
Insert a Set Variable Command node before the Conditional Branch Question node. (Please read Insert a node to learn more)
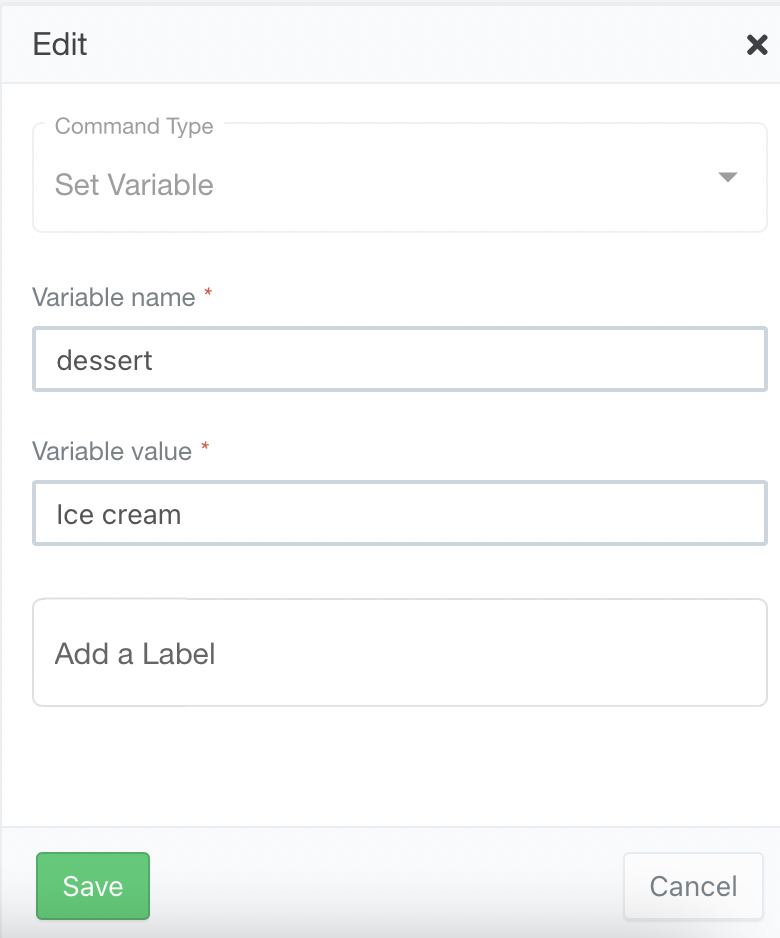
>> Case 1 – Set Variable value: ice cream #
After opening the new command dialogue, fill the form as per the screenshot below and click save.
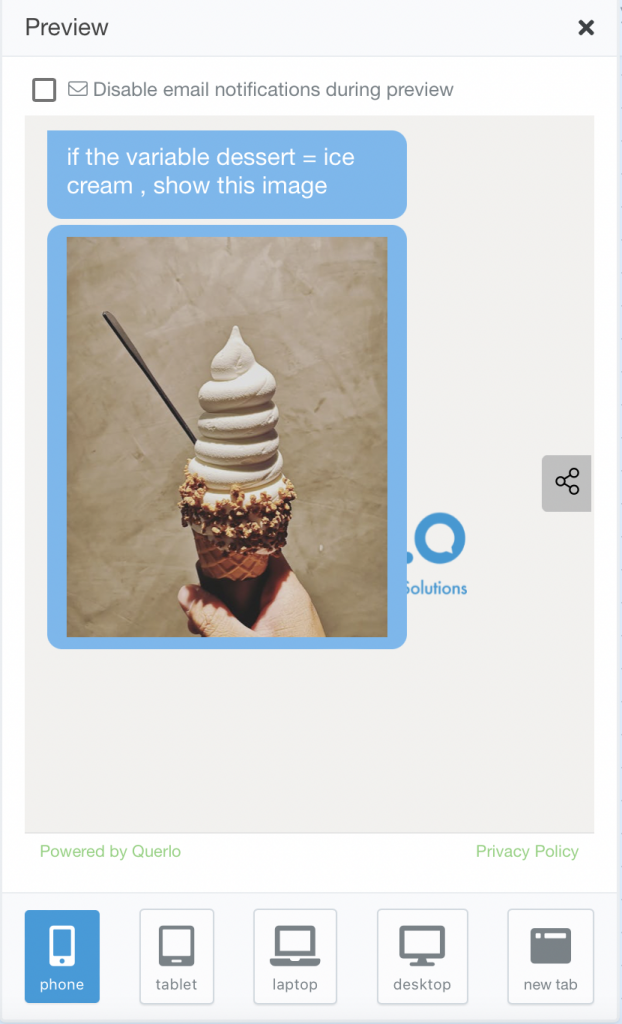
Branch 1: ice cream #
In the Chat HTML client, the conditional branch evaluates the content of the variable {dessert} and directs the flow to the appropriate branch: ice cream.
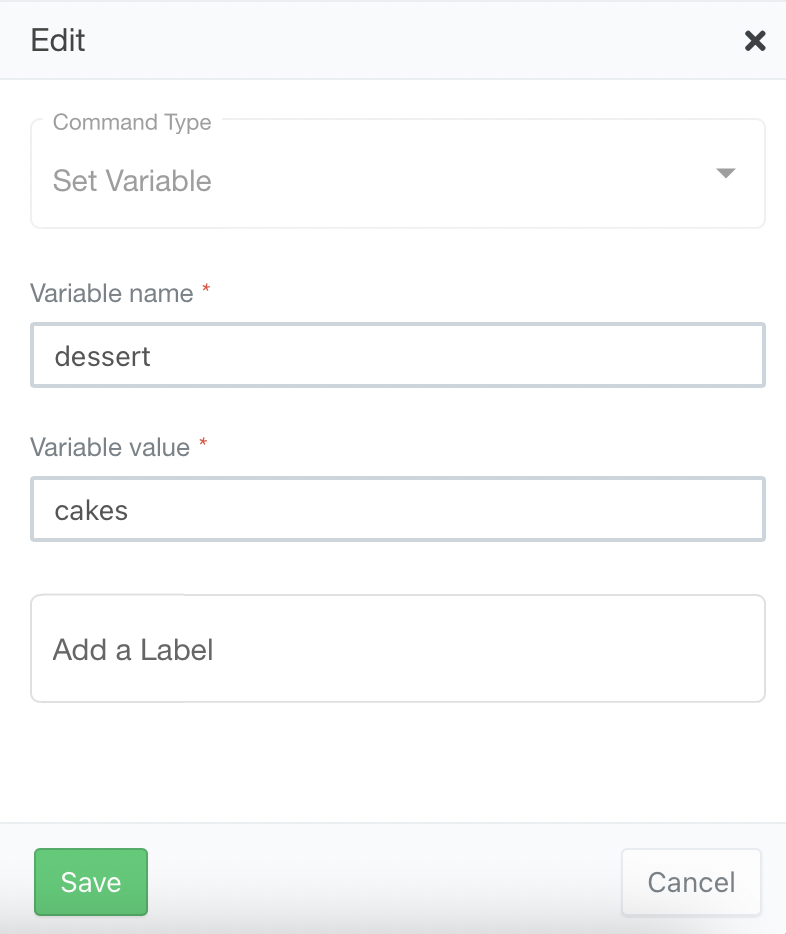
>> Case 2 – Set Variable value: cakes #
After opening the new command dialogue, fill the form as per the screenshot below and click save.
Branch 2: cakes #
In the Chat HTML client, the conditional branch evaluates the content of the variable {dessert} and directs the flow to the appropriate branch: cakes.

Edit Nodes #
To edit nodes, click on a node to access the contextual menu and choose “Edit” to open up the Edit form.
Add Nodes #
To add nodes, click on the last node to access the contextual menu which contains all the actions that you can perform on the selected node.
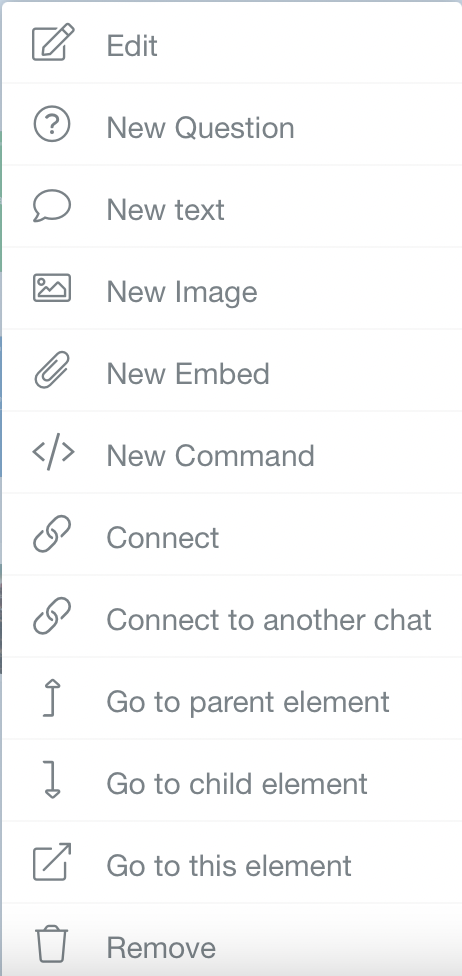
The actions include:


